was successfully added to your cart.

All posts by justin@zerotransform.com

Proton Pulse Google Cardboard sales help fuel Vanguard V development

By | Uncategorized, Vanguard V Updates | No Comments

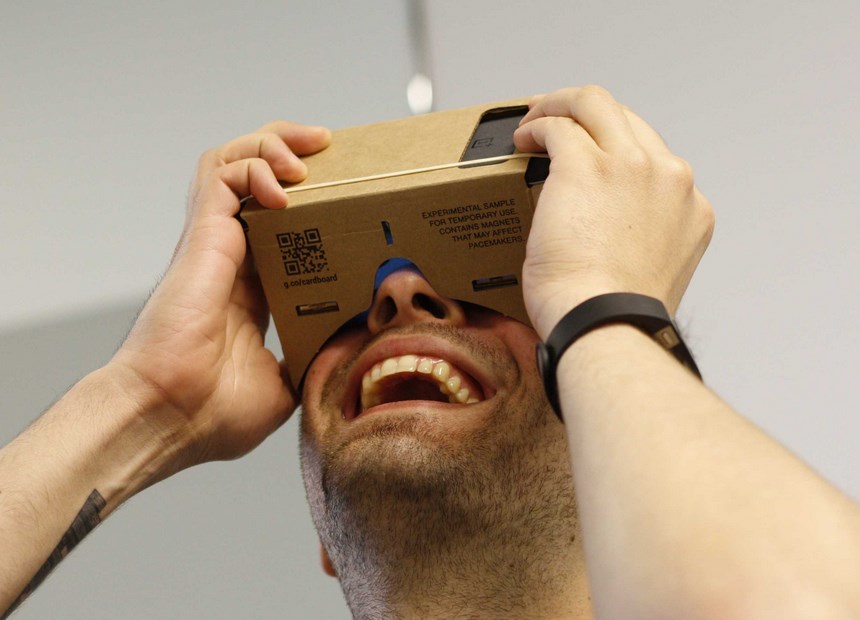
The first payout from Google Cardboard sales have arrived.  As stated, every cent will be going into the Vanguard V development fund.  This is off to a great start!  Now comes the exciting part.  We now have enough resources to begin production on the rest of the game.  It may not be everything we’ll need but that shouldn’t prevent us from starting.  You will see more updates and information in the coming days.  Part of this will be how the funds are being used to help with game development.  I want everyone to know how their $$ is being used.

Today I make a Shovel Knight Bard Nintendo!

By | Development Log | One Comment

Spare time is anything but


There are times that I must pull away from VR development so I can see the big picture.  That doesn’t mean I can slow down…that would make me anxious.  Just time for perspective (get it!?  VR is in 3D so “perspective” can be…..losing you already?)

To say I’m a fan of Shovel Knight is an understatement and I wanted to make something for my bro, Jake Kaufman.  Jake Kaufman composed the music for many many games including most of Proton Pulse and all of Vanguard V.  He is also the main musician for Shovel Knight.

The holidays are here and I wanted to make something for Jake.  I think of Jake every time I see the Bard in Shovel Knight so I thought it would be a good idea to make a gift based off the Bard.  I decided to modify a Nintendo Entertainment System with the Bard character.  This fits the Shovel Knight world perfectly since the soundtrack was made in NSF (Nintendo Sound Format).

Who is the “Bard”?


The Bard is a character who resides in the first town. He is seen playing a lute near the fountain.

The Bard wears an orange overshirt with lace in the front and a brown cape in the back. His hat is a lighter orange with brown stitches on the rim, and holds yellow feathers. His sleeves are the same color yellow. he wears brownish leggings with a pointed toe, which is a traditional bard or jester trait. He plays a lute.

For some odd reason, the Bard wears a Knight’s helmet. He very well could be some sort of knight, or may have been in the past.

The Bard may be a character representing Jake Kaufman himself in-game, as he is the composer of (most of) Shovel Knight’s soundtracks.

Source: ShovelKnight.Wikia.com

Lets find some Art!


I’m not amazing at drawing so I needed to source some art of the Bard.  There was a lot of fan art and official work for Shovel Knight but I ended up picking the work of @BarretoDavidA.  You can see his deviant art page here.  David made an amazing piece of the Bard sitting while playing his lute.  This gave me the opportunity to have the Bard interact with an object on the Nintendo.  I contacted David on twitter asking for his permission and the excitement from him was genuine.  He set me up with a line art version of the Bard sitting so I could have more to work with when it came to use my laser cutter.  LASERS!

Athey is the master of the laser cutter.  She uses it every day in conjunction with her army of 3D printers (12 of them!) to produce amazing things for her store at WarpZonePrints.com (go check it out).  She made final adjustments to the art to be compatible with the laser cutter.  Couldn’t have done it without her.

Now we need a Nintendo


I first go through my collection of hardware and carefully pick a Nintendo that is in good condition.  It is a gift after all.  I unscrew the casing, to separate the top and bottom.  I grab an official controller and mount it to the top of the system.  I am designing this Nintendo easy to use in case of music production.  The less wires, the better in a studio environment.  This will also serve as a nice place for the Bard to sit :D

LASERS!


Now is the time to cut into some acrylic with a high powered laser!  The first step is the raster etching pass.  The laser goes back and forth etching the design one row at a time.  After that the laser cuts out the outside portion.  I cut this slightly larger than the hole that will go into the NES.  This is so I can etch down the perimeter to a very thin layer to give me something to glue onto the inside of the NES.  This took several attempts before I was happy with the result but I finally got what I was looking for.  I take the result to the workstation sink and clean up the dust with my trusty Dora the Explorer tooth brush.

Next is the scary part.  I have to make the same cut on the Nintendo.  This has to be measured to perfection with consideration for the laser width, plastic heat distortion, and many other small factors.  You only get one shot so make it count!

I cut a few more holes for the knobs.  This will allow Jake to control how the Nintendo outputs its audio.  Its sometimes handy to have channels separated and adjustable for mixing purposes.

I take the piece of the Nintendo that the laser cut out and place it behind the acrylic Bard.  This covers up the internal shielding nicely.

Wiring

The next step is to wire everything together.  This involved

  • Rewiring the NES to utilize Japanese Audio from the Cart
  • Lighting the Bard and other FX
  • Hooking up the top controller with a button switch so the front port is still usable
  • Adding two additional RCA audio outputs on the back of the NES (for recording or whatever)
  • Utilizing the potentiometers (the knobs) to do neat stuff

I didn’t give this part of the job enough respect when I started.  There was a steep learning curve on finding the right voltage for lights, dealing with attenuation in audio, and finding out that not all parts are created equal.

I started with the controller and lights.  Amazon had a string of battery powered white LEDs that I used for this.  It used 3 AA batteries (1.5v x 3 = 4.5 volts) which told me in my amateur mind that its “close enough” to 5 volts.  5 volts is key since thats what the majority of the NES runs at inside.  I hacked off the battery cover, wire it to the NES. and glue the LEDs around the edge of the Bard.  I also replaced the power LED in the NES with a pink one (because Jake).

Next, I wire the button to the top mounted controller, feed it voltage so it illuminates when the top controller is active, and secure it in place.

Lastly, I wired up the knobs to control the audio.  I ordered a pack of ten potentiometers and found that about half of them failed.  This was quite frustrating because I’m not an expert and figured that the issues where my fault.  I stayed up all night trying to solve this problem and ended up succumbing to the demands of a pinched back nerve.  The down time gave me clarity and I came to the conclusion that the parts must be bad.  I tackled the knobs again and sure enough, I had faulty parts.  So glad I ordered extras.

I secured the wiring, closed the system, and tested it.  Success!

How to use the NinBardotm Entertainment System

Audio

Top knob controls separation.  Turn it all the way up to mix the audio into dual mono.  All the way down keeps the Pulse Wave channels, on one side and PCM, Noise, Square on the other.  The separation is sometimes handy for recording purposes.

The other two knobs fade in the Japanese audio channel into left or right.  This line is direct from the source without resistance so maxing it out will sound distorted.  I chose to use the potentiometer for resistance instead since using a fixed value made the channel too quiet in some cases.  You can mix it so it sounds center, left or right.  If you’re using the top knob for dual mono output you can turn down knob two or three all the way and simply use one of them to bring in the Japanese audio channel into the mono mix.

Controls

The top button enables the top mounted controller.  A fully lit button means the top controller is ready, dim lighting means the front port is enabled instead.

Pink Power Light

Its pink simply because I find it funny.  This is rooted in the same nonsensical humor I enjoy when hanging out with Jake.  Besides, he has pink hair sometimes!

I always love creating things and taking on new challenges.  This was a great project and got me energetic to return to VR development.

Love ya Jake!

The End

Looking for Investors / Now Hiring / I do VR consulting

By | Vanguard V Updates | No Comments

Investment

First, I apologize for my time away.  I’ve been working with an investment group since late October working on a deal to fund the studio.  Things where moving fast and I was a signature away from having the funds needed to proceed.  That said, the terms for the funds where ridiculously unbalanced and would have left the future of ZeroTransform on a shaky foundation.   Read More